Chocolate ice cream is one of the most beloved desserts in the world. Rich, creamy, and deeply satisfying, it combines the indulgence of chocolate with the smooth chill of frozen cream. Whether you prefer it intensely dark and bittersweet or sweet and milky, homemade chocolate ice cream offers a depth of flavor and texture that store-bought versions rarely match.
In this comprehensive guide, you’ll learn everything you need to know about making chocolate ice cream from scratch. We’ll cover ingredients, techniques, equipment options, common mistakes, variations, and expert tips so you can create a luxurious batch in your own kitchen.
Why Make Chocolate Ice Cream at Home?
Before diving into the method, it’s worth understanding why homemade chocolate ice cream is so special.
- Control over ingredients – You choose the type of chocolate, cocoa powder, sweetness level, and quality of dairy.
- No artificial additives – Many commercial ice creams contain stabilizers and preservatives.
- Customizable flavors – You can adjust richness, sweetness, and add-ins to your liking.
- Superior texture and freshness – Freshly churned ice cream has a smoother mouthfeel and more vibrant flavor.
Homemade ice cream allows you to craft something deeply personal and uniquely delicious.
Understanding the Basics of Ice Cream Science
To make excellent chocolate ice cream, it helps to understand the structure behind it.
Ice cream is essentially a frozen emulsion made up of:
- Fat (from cream and milk)
- Sugar
- Water
- Air
- Flavoring (chocolate and cocoa)
The cream provides fat, which creates smoothness. Sugar lowers the freezing point, keeping the ice cream scoopable. Churning incorporates air, preventing it from becoming a solid block of ice. Proper balance ensures a creamy texture rather than icy crystals.
Chocolate ice cream also includes cocoa solids and sometimes melted chocolate, which contribute both flavor and structure.
Choosing the Right Ingredients
The quality of your chocolate ice cream depends heavily on your ingredients. Let’s break down each component.
1. Dairy: Milk and Cream
A classic chocolate ice cream uses:
- Heavy cream (at least 35% fat)
- Whole milk
The combination creates richness without becoming overly heavy. Avoid low-fat milk if you want a creamy result.
Typical ratio:
- 2 cups heavy cream
- 1 cup whole milk
2. Sugar
Granulated sugar is most common, though some recipes use a combination of sugar and glucose or corn syrup to improve texture.
Standard amount:
- ¾ to 1 cup sugar, depending on sweetness preference
Remember, chocolate already contains some sugar, so balance carefully.
3. Cocoa Powder
For deep chocolate flavor, use unsweetened cocoa powder.
You can choose:
- Natural cocoa powder for sharper, fruitier chocolate notes
- Dutch-processed cocoa for smoother, darker, and more mellow flavor
4. Chocolate
Using melted chocolate enhances richness and creates a more luxurious mouthfeel.
Choose:
- High-quality dark chocolate (60–70% cocoa)
- Semi-sweet chocolate for a sweeter profile
Chop it finely before melting to ensure smooth incorporation.
5. Egg Yolks (For Custard-Style Ice Cream)
Traditional French-style ice cream uses egg yolks to create a custard base. This results in:
- Creamier texture
- Richer mouthfeel
- Greater stability
Typical amount:
- 4–6 large egg yolks
If you prefer eggless ice cream, you can skip them, but the texture will differ slightly.
6. Salt
A small pinch enhances chocolate flavor and balances sweetness.
7. Vanilla Extract (Optional)
Vanilla deepens the chocolate notes and adds aromatic complexity.
Two Main Methods: Custard vs. No-Cook
There are two primary approaches to making chocolate ice cream:
Custard-Based (French Style)
- Uses egg yolks
- Cooked gently on the stove
- Ultra-creamy and rich
No-Cook (Philadelphia Style)
- No eggs
- Faster and simpler
- Slightly lighter texture
This guide will focus primarily on the custard method for the richest result, but we’ll also include a no-cook option.
Equipment You’ll Need
You don’t need professional tools, but these help:
- Medium saucepan
- Whisk
- Heatproof bowl
- Fine mesh strainer
- Ice cream maker (preferred)
- Freezer-safe container
- Thermometer (optional but helpful)
If you don’t have an ice cream maker, we’ll cover manual freezing techniques later.
Step-by-Step: Classic Custard Chocolate Ice Cream
Ingredients
- 2 cups heavy cream
- 1 cup whole milk
- ¾ cup sugar
- ½ cup unsweetened cocoa powder
- 4–6 egg yolks
- 4 oz (115g) dark chocolate, chopped
- 1 tsp vanilla extract
- Pinch of salt
Step 1: Mix Cocoa and Dairy
In a saucepan, whisk together:
- Cocoa powder
- Sugar
- Salt
- Milk
- 1 cup of cream
Heat gently over medium heat until warm but not boiling. Whisk constantly to dissolve the cocoa fully and prevent lumps.
Step 2: Melt the Chocolate
Once warm, add chopped chocolate. Stir until completely melted and smooth.
Remove from heat and set aside briefly.
Step 3: Whisk Egg Yolks
In a separate bowl, whisk egg yolks until slightly pale and thickened.
Step 4: Temper the Eggs
Slowly pour a small amount of the warm chocolate mixture into the yolks while whisking constantly. This prevents scrambling.
Gradually add more until the yolks are warmed.
Then pour everything back into the saucepan.
Step 5: Cook the Custard
Cook over low heat, stirring constantly with a wooden spoon or spatula.
The mixture is ready when:
- It thickens slightly
- It coats the back of a spoon
- It reaches about 170–175°F (77–80°C)
Do not boil.
Step 6: Strain and Add Remaining Cream
Strain the custard into a clean bowl to remove any lumps.
Stir in:
- Remaining 1 cup cream
- Vanilla extract
Step 7: Chill Thoroughly
Cover and refrigerate for at least 4 hours, preferably overnight.
Chilling is crucial. A cold base churns better and forms smaller ice crystals.
Step 8: Churn
Pour the chilled mixture into your ice cream maker and churn according to manufacturer instructions, typically 20–25 minutes.
The texture should resemble soft serve.
Step 9: Freeze to Firm
Transfer to an airtight container. Press parchment paper directly on the surface to prevent ice crystals.
Freeze 3–4 hours until firm.
Your chocolate ice cream is ready to scoop and enjoy.
No-Churn Method (Without Ice Cream Maker)
If you don’t have an ice cream machine, use this method.
Method 1: Freeze and Stir
- Prepare the base as above.
- Pour into a shallow container.
- Freeze for 30–45 minutes.
- Remove and whisk vigorously to break up ice crystals.
- Repeat every 30–45 minutes for 3–4 hours.
This mimics churning by incorporating air manually.
Method 2: Whipped Cream Technique
For an eggless quick version:
- Whip 2 cups heavy cream to soft peaks.
- In another bowl, mix sweetened condensed milk, cocoa powder, melted chocolate, and vanilla.
- Fold whipped cream into chocolate mixture.
- Freeze 6 hours.
This method is sweeter and lighter but very convenient.
Tips for Ultra-Creamy Texture
1. Don’t Rush the Chill Time
A fully chilled base freezes faster, forming smaller crystals.
2. Use Enough Fat
Low-fat versions often become icy.
3. Add a Spoon of Alcohol (Optional)
A tablespoon of vodka or coffee liqueur keeps the ice cream softer.
4. Store Properly
Use shallow containers and minimize air exposure.
Flavor Variations
Once you master the base, experiment creatively.
Dark Chocolate Intensity
Use 70–75% chocolate and extra cocoa powder for bold richness.
Chocolate Fudge Swirl
Add ribbons of homemade fudge sauce during the final churn stage.
Chocolate Mint
Add peppermint extract and fold in dark chocolate chips.
Chocolate Peanut Butter
Swirl in peanut butter or peanut butter cups.
Mocha Chocolate
Add 1–2 tablespoons espresso powder for coffee depth.
Spicy Mexican Chocolate
Add cinnamon and a pinch of chili powder for warmth.
Common Mistakes and How to Avoid Them
Scrambled Eggs
Cause: Overheating custard
Solution: Use low heat and stir constantly.
Icy Texture
Cause: Not enough fat or insufficient churning
Solution: Follow fat ratios and chill properly.
Too Hard to Scoop
Cause: Too little sugar or over-freezing
Solution: Let sit at room temperature for 5 minutes before serving.
Grainy Texture
Cause: Undissolved cocoa
Solution: Whisk thoroughly and strain base.
How to Serve Chocolate Ice Cream
Presentation enhances the experience.
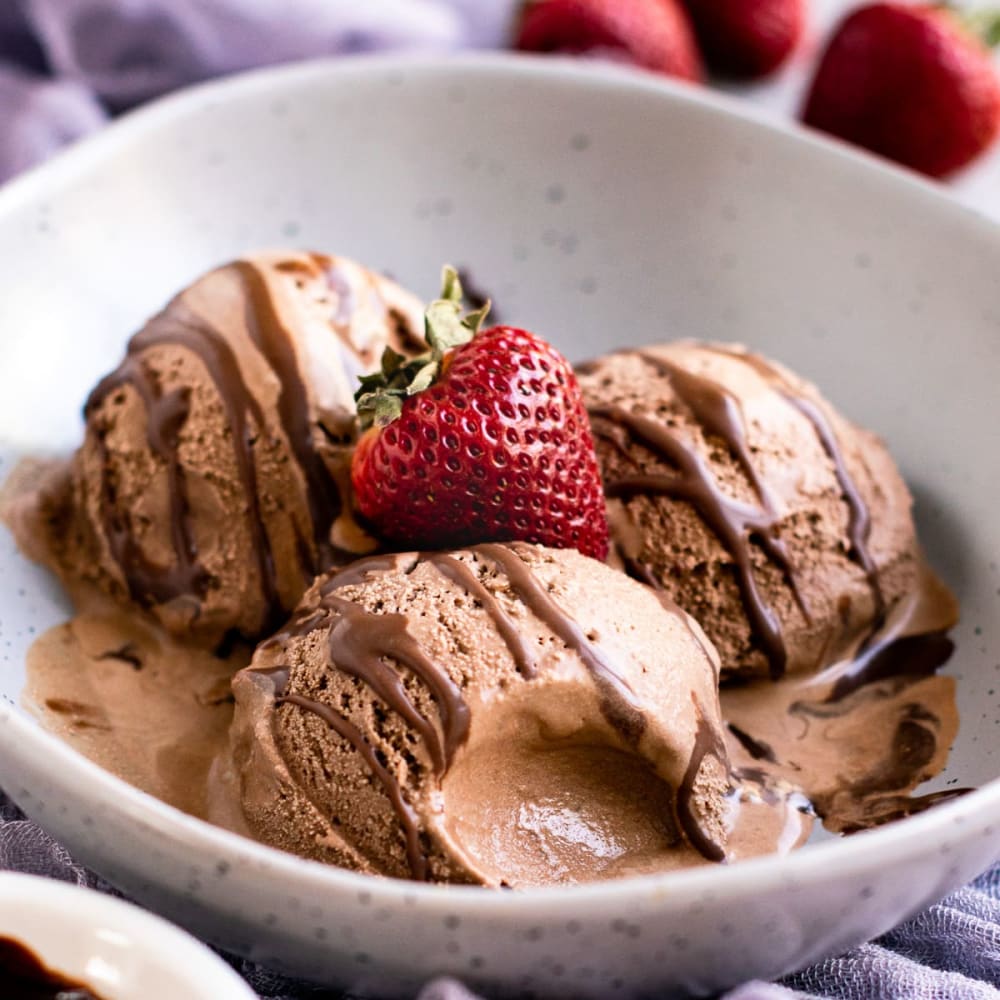
- Scoop into chilled bowls
- Top with chocolate shavings
- Add fresh berries
- Drizzle warm chocolate sauce
- Sprinkle sea salt for contrast
- Pair with brownies or cookies
For a sophisticated dessert, serve alongside espresso or layered in a parfait glass.
Storing Homemade Ice Cream
Homemade ice cream is best within one week.
To store properly:
- Use airtight containers
- Press parchment paper onto surface
- Keep in coldest part of freezer
- Avoid frequent temperature changes
Homemade versions lack stabilizers, so texture is best when fresh.
Scaling the Recipe
You can easily double the recipe for gatherings. Just ensure:
- Your ice cream maker has sufficient capacity
- You chill the base thoroughly
- You churn in batches if needed
Making It Healthier
If you want a lighter version:
- Replace some cream with whole milk
- Reduce sugar slightly
- Use dark chocolate for less sweetness
However, remember that fat and sugar contribute to texture. Too much reduction may lead to iciness.
Vegan Chocolate Ice Cream Option
For dairy-free chocolate ice cream:
- Replace cream with full-fat coconut milk
- Use almond milk for lighter texture
- Skip eggs
- Add cornstarch or arrowroot for thickness
Blend thoroughly before freezing for smooth consistency.
Elevating Your Chocolate Ice Cream
To truly impress, consider these professional techniques:
- Bloom cocoa powder in warm liquid to intensify flavor.
- Use high-quality chocolate with complex flavor notes.
- Add a small pinch of espresso powder even if not making mocha.
- Balance sweetness carefully—taste before churning.
Chocolate ice cream is deceptively simple, but attention to detail makes all the difference.
Final Thoughts
Making chocolate ice cream from scratch is both an art and a science. With just a handful of ingredients—cream, milk, sugar, chocolate, and perhaps egg yolks—you can create something deeply satisfying and far superior to most commercial options.
The key lies in understanding the role of each ingredient, maintaining proper temperature control, chilling thoroughly, and churning correctly. Once you master the classic version, endless variations await—from intense dark chocolate to playful swirls and mix-ins.
Whether enjoyed in a cone on a warm afternoon or paired with a decadent dessert at dinner, homemade chocolate ice cream is a timeless treat that rewards care and creativity.
Now that you know exactly how to make it, your kitchen is just a few steps away from producing rich, creamy, chocolate perfection.